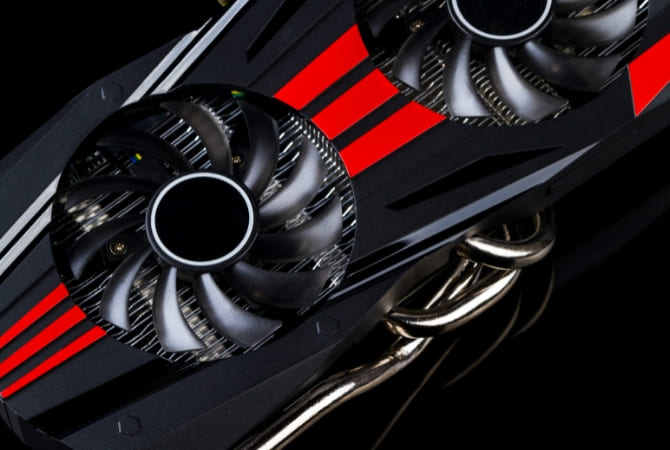
It’s no secret that PC coolers can make noise when the load increases. And this doesn’t particularly scare anyone. But when the coolers responsible for removing heat from the video card make noise, this may raise questions. After all, if heat is poorly removed from it, it will definitely cause overheating, and it will inevitably affect the operation of the output device.

Reasons why a GPU Fan becomes Noisy
First of all, it’s worth considering why a GPU cooler might make an unpleasant buzzing sound and make all sorts of noise. There are not many reasons for this – the problem is either with the contamination of the cooler is dirty, or its moving parts lack sufficient lubrication.
Dust appears over time, and even though GPU coolers don’t clog as quickly as 4-pin case coolers, cleaning them at least once a year still won’t hurt. Moreover, the GPU should not be allowed to overheat, and working coolers are all that can be counted on to remove heat from it.
A problem with the rotating part itself can arise for various reasons, usually because there was not enough lubrication to begin with and it got worn out over time. And the more fans are subjected to high load, the faster this can happen.
Another reason could be mechanical failure, but this rarely happens.
How to fix Noisy GPU?
We’ve identified the issues, so let’s focus on resolving them. The methods are simple, won’t take much of your time, but, they will require accuracy and attention to detail. And if you have already stocked up on them, there will be no difficulties.
First of all, do not forget to clean the GPU card and the entire system unit from dust. Since the first thing we will do is check the temperature of the device during operation, it will be useful for the readings to be more accurate results.
This method is also applicable to laptops, especially if the screen turns black when idle, and the fan makes a lot of noise.
Check graphics card temperature and fan curve
First, you need to make sure that the temperature of the video card really requires the same level of cooling effort as provided by the fan. Especially if the computer screen occasionally went dark while the cooler was making a very loud noise.
After making sure that the system is clean, it’s time to check the temperature of the graphics card itself. You can use special programs that can easily read its temperature readings such as MSI Afterburner or HWMonitor.
You can reduce the speed in a radical way – by reducing the voltage supply to the GPU or power limit. If its performance drops, there will be no need to remove much heat.
But few will agree to this, because a drop in graphics card performance will force you to set lower graphics settings, which will make the situation even worse.
Therefore, you can go with other way by adjusting the fan curve. This function is, commonly found in all GPU monitoring programs. The fan curve shows at what temperature what effort it makes to cool the GPU card. Ideally it should be as smooth as possible, but this is not always the case. Sometimes the cooler does not work until the GPU temperature of the device reaches the certain level, and then immediately starts spinning at maximum speed. This can and should be fixed.
If you have software from the manufacturer, check the instructions to find out where to look for these settings. They look different, so it is difficult to give universal instructions here.
Generally, cooling activation is set to begin at 30°C, with maximum fan speed kicking in at 80°C. Typically, graphics cards reach these peak temperatures while running demanding games. And the speed between these values should increase gradually.
Replacing cooler lubricant
Most of the time, a noisy fan is likely due to insufficient lubrication on its bearing. Adding lubricant often solves this issue effectively.
To apply new lubricant/grease to the cooler, you’ll first need to remove it. Start by taking the graphics card out of the computer case, and then remove all the built-in coolers. Begin by peeling off the sticker on the top, and then disassemble it into its main components, typically two: one with blades and microcircuits, and the other with an axis around which the blades rotate.
The design of fans is not always like this, but the point is not that, but the application of lubricant in the area where the axle and blades connect. To do everything correctly, refer to guides on applying lubricant to coolers designed for your specific GPU.
You can use different materials, and any mechanism oil to lubricate the parts will do just fine.
After updating the lubricant, reassemble the components, reinstall the fan onto the board, and test for any noise. Start watching highly detailed images or launch games and see if the picture is jerky.
If it remains, the only last way left is to replace the rotation mechanism itself.
Replace the rotation mechanism
You can simply buy a bearing and replace the entire cooler, everything will depend only on your desire and the degree of wear of the fan. All parts of GPU can be easily purchased online.
However, be careful that everything is compatible before making any purchases. While this method is effective, it is also the costliest, so let’s hope you don’t need it.
As you can see, you can get rid of graphics card fan noise quite quickly. And most often the reasons are exactly what I mentioned, so you don’t have to worry that something irreparable has happened to the video card.
Just follow the steps carefully and you’ll be able to silence those annoying fan noises in no time. Remember, regular maintenance and proper care can prevent these issues from occurring in the first place. So make sure to clean your graphics card regularly and replace any worn out parts as needed.


