Screen recording has quickly become an essential tool for many. Windows 11 makes this process easier than ever by offering built-in tools for screen recording that don’t require any third-party software.
Gone are the days of searching for external apps or worrying about security risks. Windows 11’s built-in features not only save time but also ensure your screen captures are seamless and secure. Let’s dive into how you can harness these tools to record like a pro.
Convenience at Its Best
When you need to record your screen, the last thing you want is to waste time downloading and installing extra software. Built-in tools on Windows 11, like the Xbox Game Bar and the revamped Snipping Tool, are ready to go out of the box. They’re lightweight, accessible, and don’t bog down your system with unnecessary overhead.
Imagine this: you’re in the middle of an online class or presenting a critical project during a remote meeting. With built-in tools, you can hit a shortcut and start recording instantly—no fuss, no waiting.
Safe and Resource-Friendly
Beyond speed, there’s peace of mind. Built-in tools are developed and vetted by Microsoft, eliminating security concerns associated with third-party apps. Plus, these tools are optimized for Windows 11, meaning you’re less likely to encounter glitches or performance hits during recording.
Windows 11 Built-in Screen Recording Tools
1. Xbox Game Bar: Designed for Gamers, Loved by All
The Xbox Game Bar might sound like something reserved for gamers, but its utility goes far beyond that. While it was initially designed to capture gameplay, it’s now a versatile tool for recording almost any app or window on your screen.
Where It Shines
Use the Xbox Game Bar to record your presentations, video conferencing software like Microsoft Teams, or even the editing process in apps like Adobe Premiere. Its overlay makes it easy to start and stop recordings without interrupting your workflow.
Limitations to Note
However, it does come with its caveats. The Xbox Game Bar cannot record your desktop or File Explorer. So, if you’re planning to capture activities outside of a specific app, you’ll need to explore other options or workarounds.
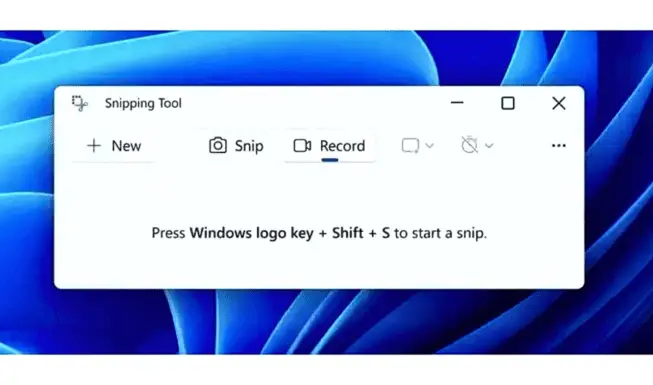
2. Snipping Tool: More Than Just Screenshots
The Snipping Tool has evolved significantly over the years, and in Windows 11, it now includes basic screen recording capabilities. What sets it apart is its simplicity.
User-Friendly and Integrated
The Snipping Tool seamlessly integrates with other Windows features, making it incredibly easy to record, save, and share your clips. Whether you want to capture a full-screen recording or focus on a specific area, it’s all just a few clicks away.
Why It Works for Quick Captures
Let’s say you’re troubleshooting an issue and want to send a short recording to your IT team. Instead of capturing your entire screen, the Snipping Tool lets you zero in on the problematic area. It’s the perfect balance of functionality and simplicity.
How to Record Screen Using Xbox Game Bar (3 Steps)
Step 1: Open Xbox Game Bar
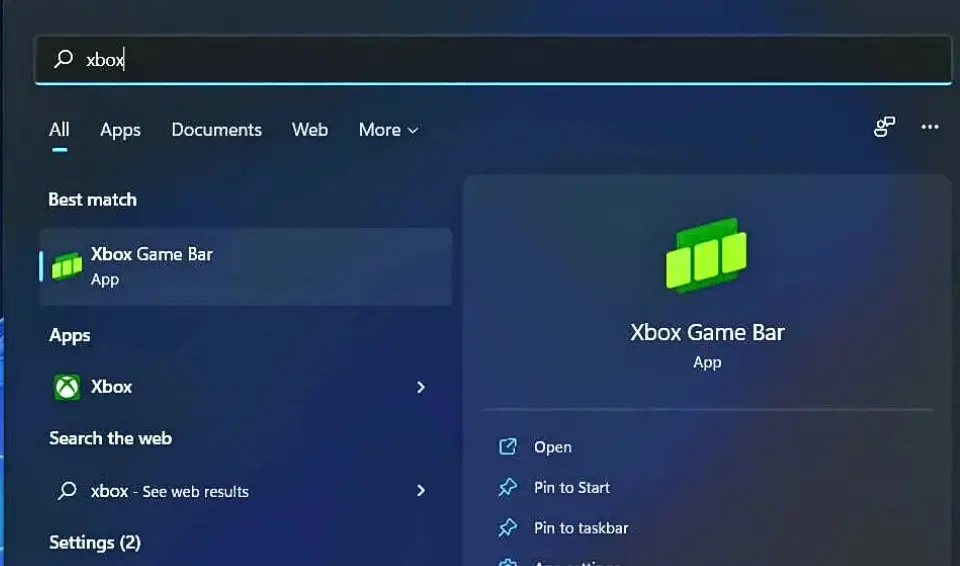
To get started, press Windows + G. This shortcut opens the Xbox Game Bar overlay, giving you access to its recording features. If nothing happens, don’t panic. Head to Settings > Gaming > Xbox Game Bar to ensure the feature is enabled.
Step 2: Start Your Recording
Once the Game Bar is open, click the Capture widget and hit the Record button (a red circle). Alternatively, you can use the keyboard shortcut Windows + Alt + R to jump right into recording. Before you begin, check your audio settings to ensure your microphone is enabled if needed.
Step 3: Stop and Save
To stop recording, press Windows + Alt + R again or click the stop button in the overlay. By default, your recordings will be saved in the Captures folder under your Videos directory. Navigate there to review or share your recordings.
Handy Keyboard Shortcuts for Xbox Game Bar
For quick access, here are some essential shortcuts:
| Action | Shortcut | Description |
|---|---|---|
| Open Xbox Game Bar | Windows + G | Launches the overlay. |
| Start/Stop Recording | Windows + Alt + R | Toggles recording on/off. |
| Take Screenshot | Windows + Alt + PrtSc | Captures a screenshot of the current window. |
| Show All Captures | Windows + G, then click “Show all captures” | Displays all recorded videos. |
With just these simple tools and steps, recording your screen on Windows 11 becomes effortless.
Now, let’s switch gears and take a closer look at another built-in option: the updated Snipping Tool. Plus, we’ll dive into settings, limitations, and editing tips to make your screen recordings shine.
How to Record Screen Using Snipping Tool (3 Steps)
Step 1: Launching the Snipping Tool
The Snipping Tool isn’t just for taking screenshots anymore—it now doubles as a simple screen recording utility. To launch it, you have several options:
- Press Windows + S and type “Snipping Tool” in the search bar.
- Right-click the taskbar and pin the Snipping Tool for quick access in the future.
- Use the Start Menu to navigate to Accessories and locate it manually.
Pro Tip: If you find yourself using the Snipping Tool frequently, pinning it to the taskbar is a great way to save time.
Step 2: Initiating a Screen Recording
Once launched, click the Record button to start. You can choose to record the entire screen or select a specific area. Selecting a smaller section is perfect for use cases like recording a single application window or focusing on a particular region of your screen, such as a web browser tab.
For example, if you’re recording a tutorial for an Excel function, you can isolate just the Excel window to eliminate distractions.
Step 3: Saving Recordings
When your recording is complete, the Snipping Tool allows you to save the file in common formats like MP4. You’ll also have options to adjust the quality and resolution, ensuring your recording is optimized for its intended purpose.
Do you know – Windows 10 has snipping tool too but not Screen Recording feature, it gets upgrade with Windows 11.
Recording Settings and Options
Adjusting Settings in Xbox Game Bar
The Xbox Game Bar offers a settings menu that allows you to tweak various recording parameters. Open the Game Bar (Windows + G) and click the Settings icon in the overlay. From here, you can:
- Adjust video quality settings to prioritize either performance or clarity.
- Configure the maximum recording length, ensuring longer sessions don’t get abruptly cut off.
- Customize hotkeys to streamline your workflow.
If your system feels sluggish while recording, lowering the resolution or frame rate can help improve performance.
Audio Settings
Good audio can make or break your screen recordings. Before you hit record, ensure your audio inputs and outputs are set up properly:
- Microphone Input: Toggle your microphone on/off via the Game Bar or Snipping Tool if you need narration.
- Playback Devices: Double-check that the correct speakers or headphones are selected for audio playback.
Expert Tip: Using a dedicated headset or external microphone often results in noticeably clearer audio compared to built-in laptop microphones.
Limitations of Built-in Screen Recording Tools
Audio Limitations
While built-in tools handle most tasks well, they aren’t perfect. For instance, some applications (like certain web conferencing tools) may restrict audio capture due to privacy policies or DRM (digital rights management).
Workaround: If your built-in tools fail to record audio, consider using a virtual audio cable or a third-party audio capture solution alongside your screen recording.
Full-Screen Recording Restrictions
As mentioned earlier, neither the Xbox Game Bar nor the Snipping Tool supports full-screen desktop or File Explorer recording. This limitation can be frustrating for users who need to demonstrate OS-level functionality.
Alternative: For tasks that require full-screen capture, consider supplementing with lightweight third-party software like OBS Studio.
Basic Editing Options Post-Recording
Using Clipchamp for Basic Edits
Once your recording is done, you may need to make quick edits. Fortunately, Windows 11 includes Clipchamp, an easy-to-use video editor that covers basic needs without overwhelming you with options.
Here’s how to get started:
- Open Clipchamp via the Start Menu or by typing “Clipchamp” into the search bar.
- Import your recording directly from the Captures folder.
- Use Clipchamp’s tools to:
- Trim unnecessary segments from the beginning or end.
- Add text overlays for captions or annotations.
- Insert transitions or background music to enhance your video.
Saving and Exporting Videos
After editing, Clipchamp offers various export options:
- Resolution Options: Choose from 480p for smaller file sizes, 720p for standard quality, or 1080p for HD output.
- File Formats: Stick with MP4 for compatibility across platforms.
When sharing videos online, consider compressing files to ensure faster uploads without sacrificing too much quality.
Conclusion
Built-in tools like the Xbox Game Bar and Snipping Tool make screen recording on Windows 11 quick, easy, and secure. Whether you’re capturing a Zoom call, recording a tutorial, or troubleshooting a problem, these tools get the job done without the hassle of third-party installations.
By understanding their features, optimizing settings, and incorporating basic edits in Clipchamp, you can produce polished videos that are ready to share. So the next time you need to record your screen, remember: everything you need is already at your fingertips.